


From light surface marks to deep gouges, this guide explains how to get rid of scratches on wood using simple repair techniques. Learn how to fill scratches in wood, repair deep scratches in wood tables, remove scratches in wood surfaces, and even handle scratches on wooden floors effectively at home
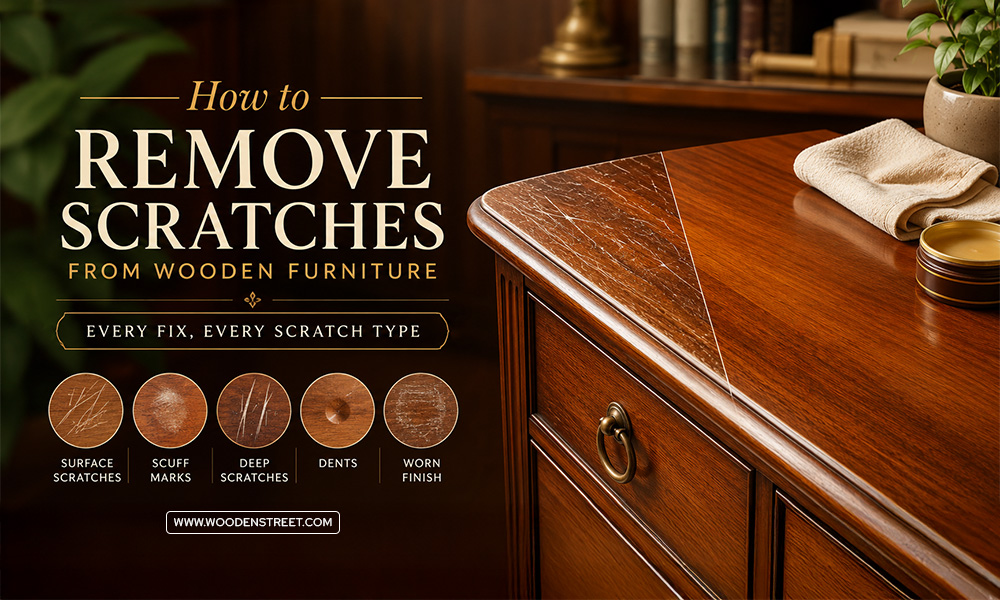
You just noticed it. That scratch on your favourite wooden table appeared out of nowhere, and now you cannot stop staring at it. Don't panic. Whether it's a tiny scuff or a gouge deep enough to lose a fingernail in, there's a fix and most of them use stuff you already have at home.
From surface scratches to deep gouges, furniture to floors this blog guide covers it all.
Before you grab anything, do this one quick test. Run your fingernail across the scratch.
This test matters because using the wrong fix on the wrong scratch type wastes your time and can actually make things look worse. So test first, fix second.
Surface scratches are honestly the easiest thing in the world to deal with once you know what works. Here are three methods that genuinely deliver.
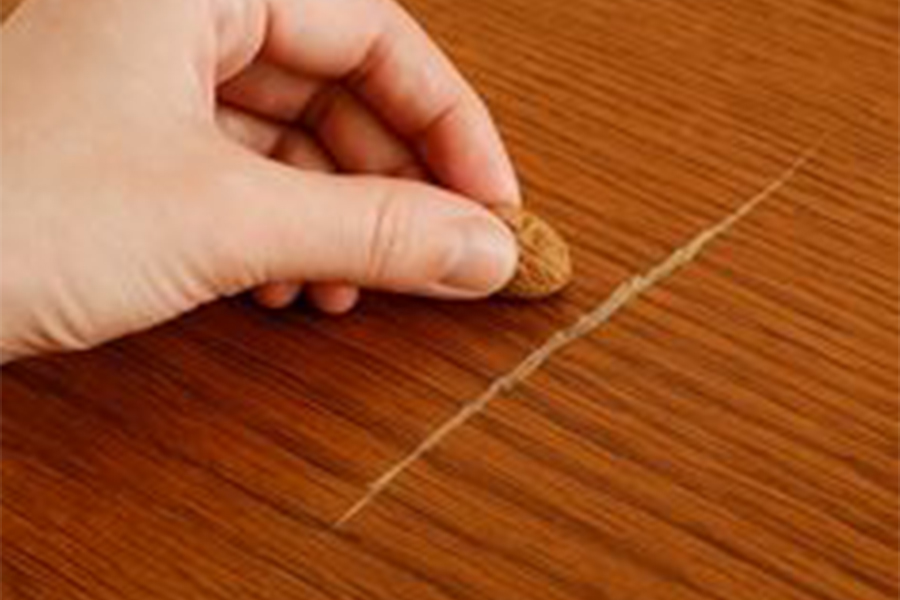
Yes, a plain walnut from your kitchen furniture. This one sounds too simple to be real, but it works especially on darker wood tones like walnut, mahogany, or oak.
Crack open a raw walnut, take the meat out, and rub it directly along the grain of the scratch. Do this 3–4 times with some pressure. Wait 5 minutes, then buff the area clean with a soft cloth. The natural oils sink into the scratched fibres and darken them back to match the surrounding wood.
Best for: dark toned furniture with light surface marks.
Got a tub of Vaseline? You're already halfway there.
Dab a generous amount of petroleum jelly directly onto the scratch and leave it overnight. In the morning, wipe it clean. What's happening here is simple the jelly is slowly moisturising the compressed wood fibres and coaxing them back into position. It's the laziest fix on this list, and sometimes the most satisfying.
Best for: surface scratches where the wood looks dry or whitish.

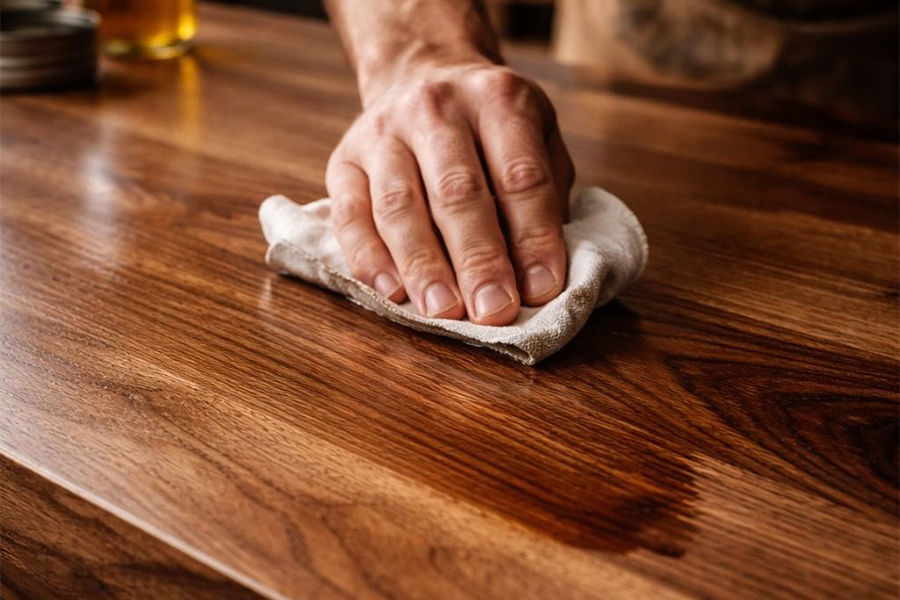
Mix olive oil and white vinegar in a 3:1 ratio (3 parts oil, 1 part vinegar), apply it along the grain of the scratch, leave it for 10 minutes, then buff off with a clean cloth.
The oil conditions the wood while the vinegar very gently cleans and brightens. This combo works really well if you're trying to remove scratches in wood that's unfinished or lightly oiled think a raw wooden dining table or an oiled butcher block.
Best for: unfinished or naturally oiled surfaces.
Now we're getting into the serious stuff. If your fingernail drops into the scratch, the wood itself is damaged. Surface treatments won't touch it. You need to fill the gap.
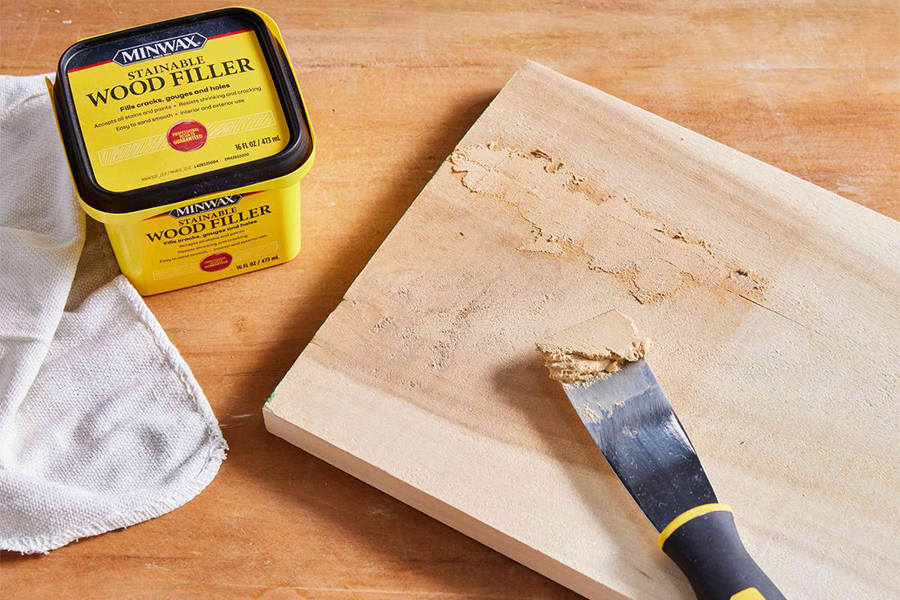
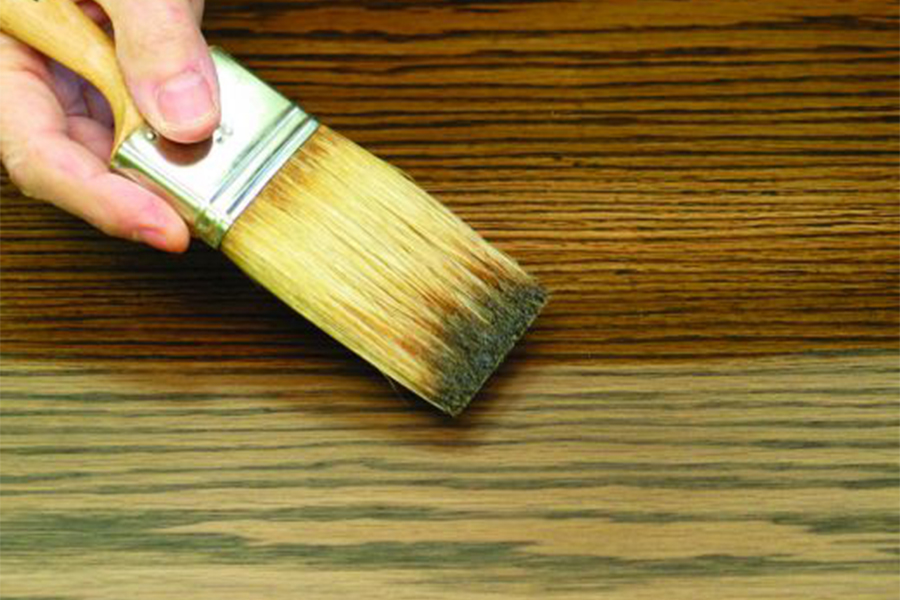
This is the go to method when you're dealing with wide or irregular gouges. Pick a wood filler or putty that closely matches your wood tone, press it into the scratch, and slightly overfill this part is important. Wood filler shrinks as it dries, so if you fill it flush, the patch will sink below the surface and always show.
Once dry, sand flush with 220 grit sandpaper using light, even strokes. Then stain over it to match the surrounding wood. The result is nearly invisible when done right.
Best for: wide gouges, chipped edges, larger damaged areas.
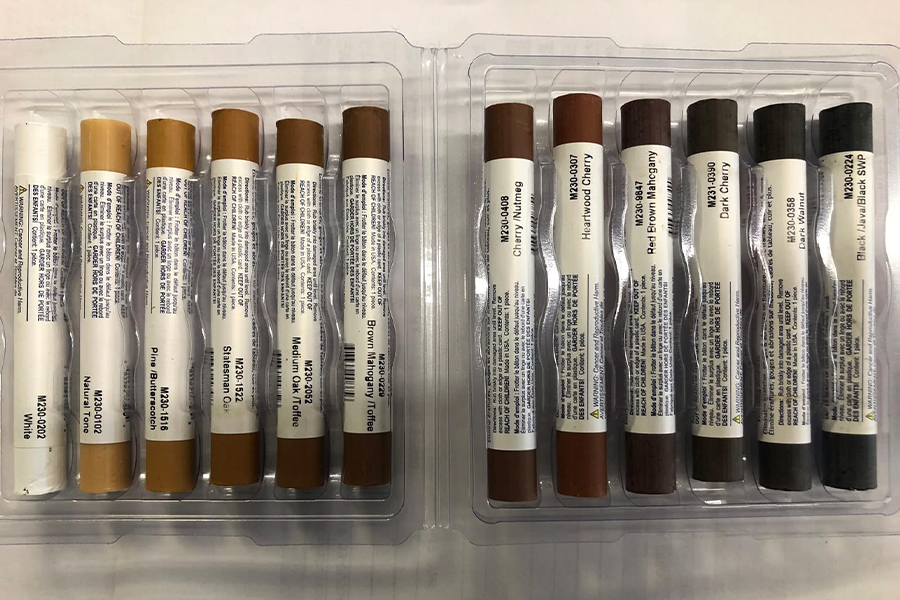
Wax filler sticks are like a crayon for wood. You warm the tip slightly (a hairdryer works), press it firmly into the scratch until it's packed full, then scrape off the excess with a old gift card or plastic scraper held flat. Buff with a soft cloth. Done.
No sanding, no drying time, no mess. These sticks come in dozens of wood tone shades, so colour matching is easy. This is the fastest way to repair deep scratches in a wood table when the scratch is narrow and clean edged.
Best for: narrow, straight deep scratches.
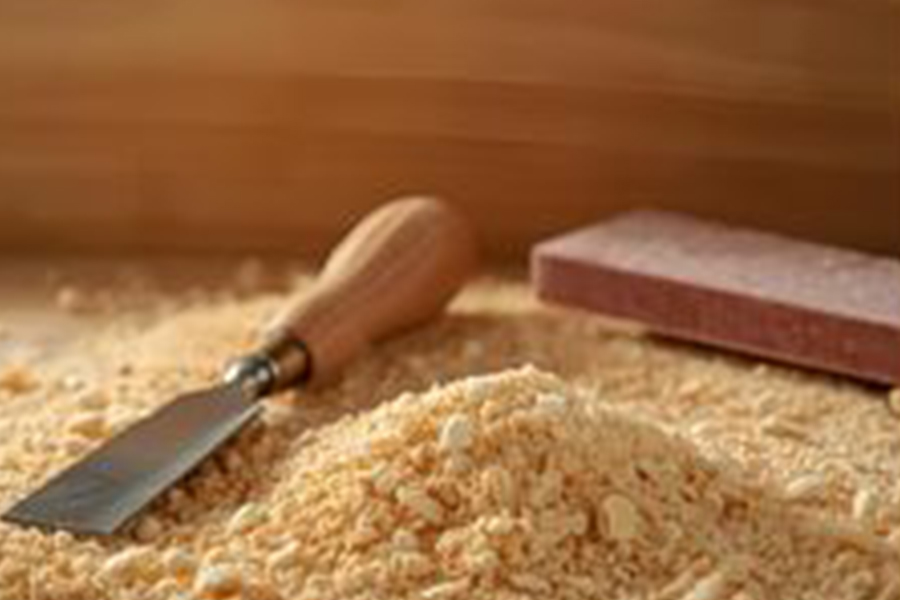
This one takes a bit more effort but gives the most natural looking result. Collect fine sawdust from the same piece of furniture if you can even from sanding it. Mix it with PVA wood glue until you get a thick paste. Press the paste into the scratch, slightly overfill, and let it cure for 4–6 hours.
Once fully hardened, sand it flush, then refinish the area. Because you're using dust from the actual piece, the colour match is almost perfect. It's the best method when you need the repair to be truly invisible.
Best for: when colour matching is the top priority.
The same three category logic applies here surface, mid level, and deep but there's one extra factor you need to check first: your floor finish type.
Is your floor sealed with polyurethane? Naturally oiled? Waxed? This matters because some products will penetrate an oiled floor beautifully but just sit uselessly on top of a sealed polyurethane one.
For sealed (polyurethane) floors: use a floor scratch marker or a commercial concealer like Rejuvenate or Minwax. These are made specifically to get rid of scratches on wood without touching the finish. Easy, quick, no prep.
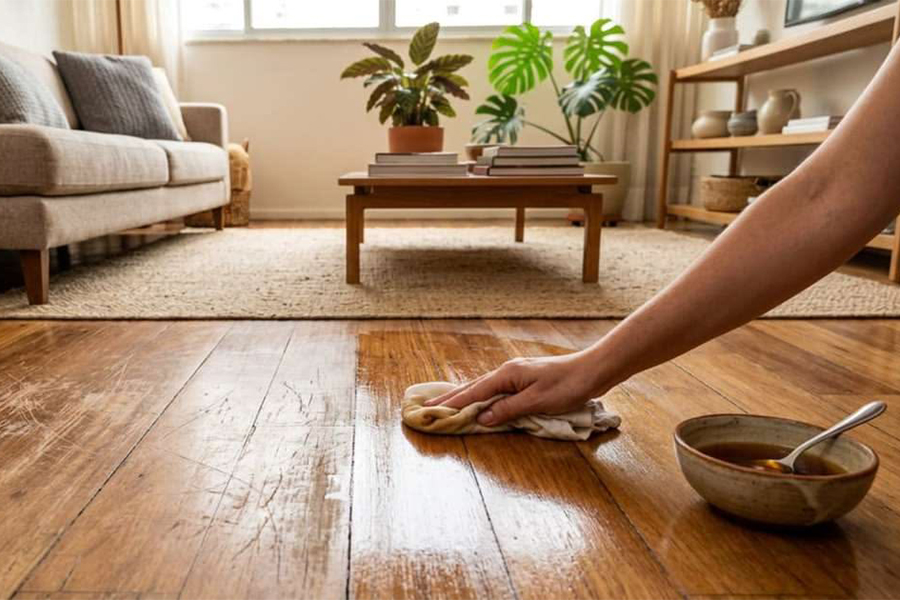
For oiled floors: the walnut method works great here too. Rub the walnut along the grain, wait, buff off. Same principle as furniture.
Fill the scratch using the filler methods above, sand flush but here's the bit most people miss. Don't just refinish the patch. Buff and refinish a full 2–3 board section around the repair so the sheen level matches the surrounding floor. A perfectly filled patch with the wrong sheen level will still look like a repair. This extra step is what makes it disappear.

Once you've fixed it, keep it fixed.
| Scratch Type | Best Fix | Time Needed | Skill Level |
| Surface (doesn't catch) | Walnut / Petroleum Jelly / Oil+Vinegar | 5 min – overnight | Beginner |
| Surface on floors | Scratch marker / Concealer | 5–10 mins | Beginner |
| Mid level (lightly catches) | Wax filler stick | 10–15 mins | Beginner |
| Deep narrow scratch | Wax filler stick | 15–20 mins | Beginner |
| Deep gouge / wide scratch | Wood filler + sand + stain | 1–2 hours | Intermediate |
| Deep floor scratch | Fill + sand + refinish 2–3 boards | 2–4 hours | Intermediate |
Wood is tougher than it looks, but it's not invincible. A little scratch that gets ignored turns into a bigger problem when moisture gets in, when it gets knocked again, or when the finish starts peeling around the edges.
The good news? You now know exactly what to do no guessing, no wasted trips to the hardware store, no paying someone else to do a 15 minute job.
Pick your scratch type, grab the right fix, and get it sorted today. Your furniture will thank you.
Tried one of these methods? Which one worked best for you? Drop it in the comments below we'd love to know! And if you've got a tricky scratch situation that didn't fit neatly into any of these categories, tell us about it. We might just cover it next.
We will be back with the next blog soon. Till then, stay tuned!
Read More
How To Polish Wood Furniture at Home Using Natural Cleaners
Image Source: Pinterest, Google, and Wooden Street
A Walnut meat or petroleum jelly for surface scratches. Wax filler stick or sawdust + PVA glue for deeper ones. All cheap, all easy
A Use wood filler putty or a wax filler stick. Slightly overfill, let it dry, sand flush with 220-grit, and finish with a matching stain
A Only the very lightest surface marks. Rub a small amount of white (non-gel) toothpaste along the scratch and wipe clean. Don't expect miracles on anything deeper
A A dark walnut wax filler stick handles narrow scratches well. For wider gouges, the sawdust + PVA method gives the best colour match - finish with dark walnut stain
A Use a scratch concealer made for sealed surfaces (Minwax or Rejuvenate). Apply, buff with a soft cloth, done. For slightly deeper ones, lightly rub with 0000-grade steel wool first.
Trending Products
Top Picks from EveryoneArticles you will love to read

Explore the top 15 dining table sets trending in 2026, featuring modern, space-saving, and elegant designs. From compact sets for apartments to luxurious statement pieces, these stylish picks are perfect for upgrading your dining space and adding comfort, functionality, and charm to your home.
Continue Reading
Planning to upgrade your living space? This guide reveals expert tips to choose the perfect 3 seat recliner couch, covering comfort, materials, mechanisms, and interior styling. Learn how to balance functionality with aesthetics to create a cozy, modern, and space-efficient home setup in 2026.
Continue Reading
This blog guide breaks down queen size bed dimensions in feet, ideal room fit, mattress types, and buying tips. Learn how to choose the right size for comfort, space efficiency, and long-term value, whether upgrading your bedroom or purchasing your first queen mattress.
Continue Reading
Explore the real pros, cons, durability, and maintenance of mango wood furniture in this honest guide. Learn why mango tree wood furniture, mango hardwood furniture, mango tables, mango stools, mango wood beds, and mango dining tables are becoming popular choices for stylish and sustainable homes.
Continue Reading
Explore the complete history of Indian furniture design: from Mughal takhts and colonial planter’s chairs to modern sheesham and mango wood furniture in Indian homes today.
Continue Reading


