


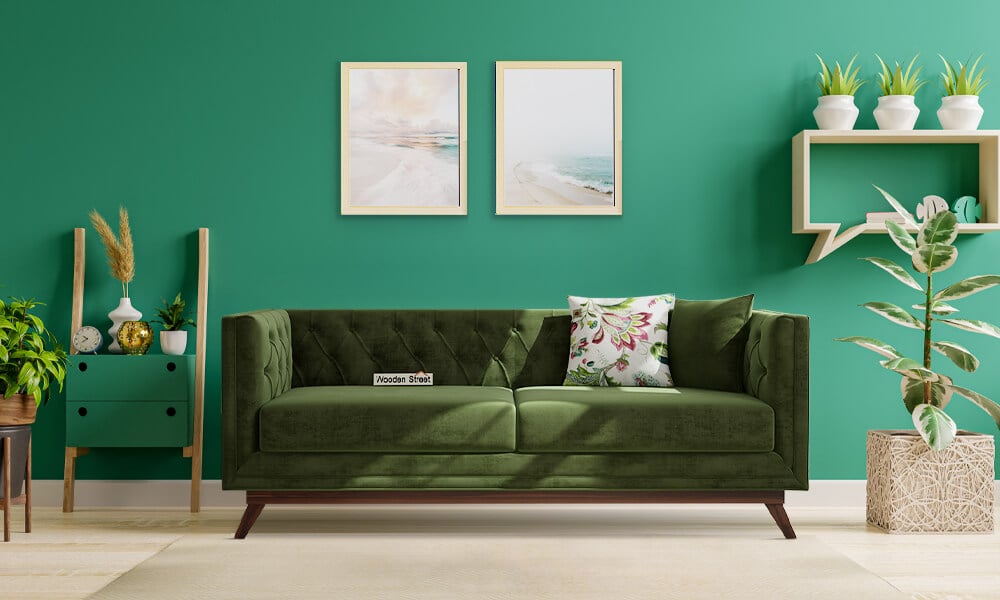

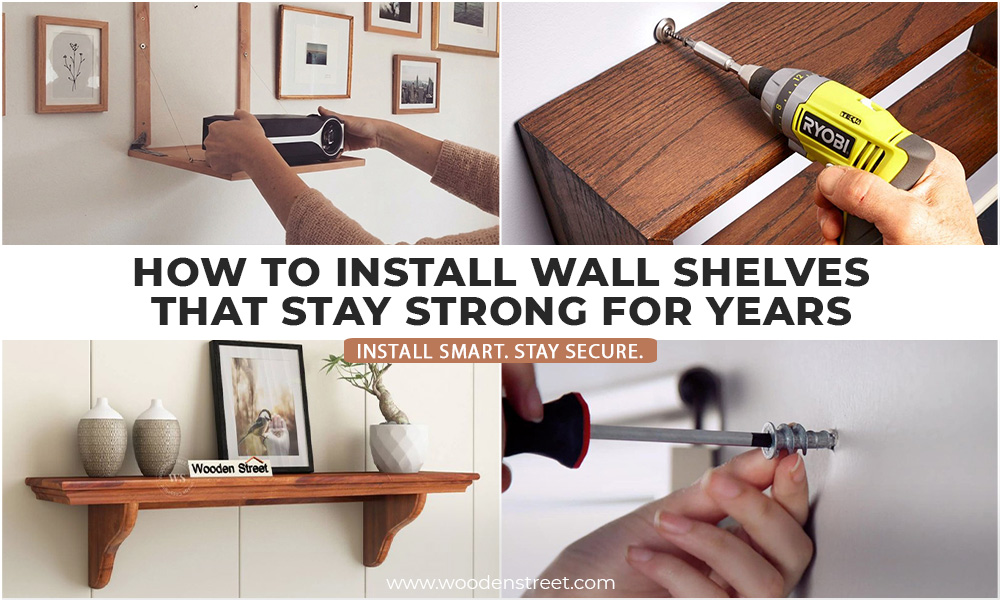
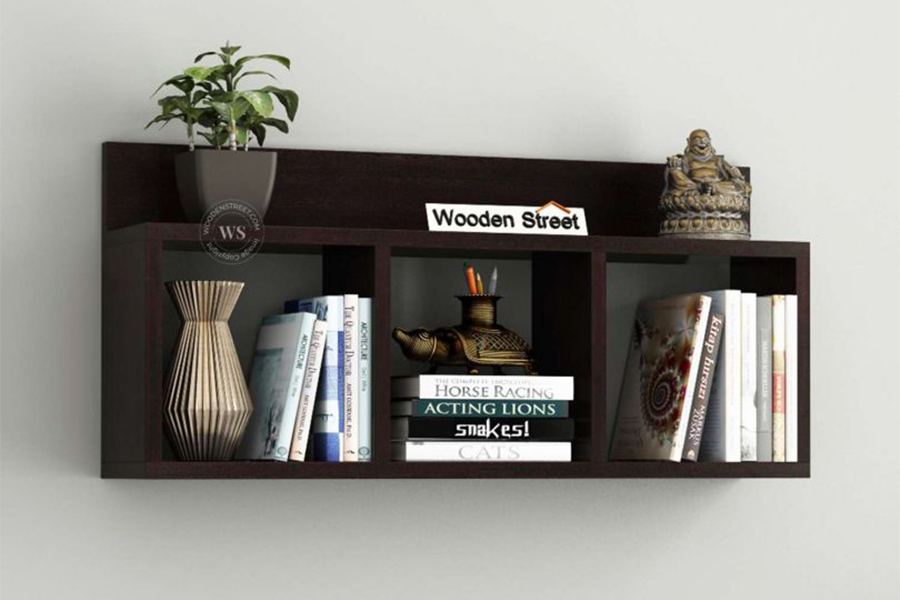
Master the basics of how to install wall shelves safely and securely with this practical guide. Learn floating shelf installation techniques, choose the right wall shelf brackets, understand wall shelf weight limits, and discover easy solutions for how to fix a loose shelf before it becomes a bigger problem
Most wall shelves don't fail because they are cheap. They fail because of three decisions made in the first ten minutes of installation. Wrong anchor for the wall type. The hole was drilled too fast and too wide. Load placed before the compound has properly cured.
Even the best wall shelf design can start failing when installation basics are ignored. The shelf looked fine on day one. Six months later it's tilting. A year later it's pulling away from the wall. By then there's a hole to fill, a shelf to reinstall, and usually some broken crockery involved.
This guide covers the whole picture. How to identify your wall type and choose hardware that actually matches it. How to install correctly without rushing the steps that matter. How to load a shelf so it stays up. What the early warning signs of a failing shelf look like. And how to fix one that's already giving trouble. Whether you're putting up a new shelf this weekend or dealing with one that isn't sitting right, this is the information you need before you drill anything
This is the single most important variable in any shelf installation. Everything else, which anchor you buy, which drill bit you use, how deep you go, follows from what your wall is made of. Get this wrong and nothing else you do correctly will save the shelf.
Indian homes have four common wall types and they behave very differently.
The most common wall type in Indian apartments. Dense, strong, and the most capable of holding heavy shelves when the installation is done right.
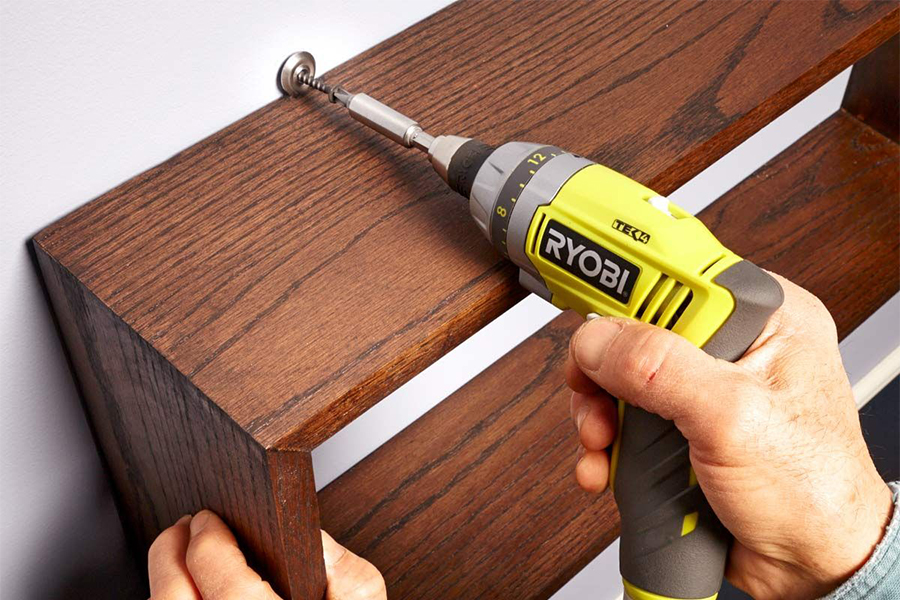
Requires a hammer drill and a proper masonry bit. A standard drill will spin against concrete and generate heat without making meaningful progress. The hole will be the wrong shape and the anchor won't sit correctly in it. If you don't own a hammer drill, borrow one or hire one. It's not optional for concrete.
Use Rawl plugs or Fischer plugs rated for the load you're planning. Not the generic plastic anchors from the local hardware store that come in a bag of twenty for fifty rupees. Those are for picture frames. For a shelf carrying weight, the anchor quality is not where to economise.
Concrete done correctly holds the heaviest shelf loads without complaint for years. Done incorrectly it looks fine for a while and then pulls out suddenly.
Slightly softer than RCC and easier to drill through. The masonry approach is the same. The important nuance specific to brick: drill into the brick itself, never into the mortar joint between bricks.
Mortar looks solid but it crumbles under sustained load. An anchor set in mortar rather than brick will work its way loose gradually regardless of how carefully everything else was done. Look at the wall surface before marking your drill points and make sure the marks land on brick, not on the grey mortar lines between.
This is where installations fail most often, because the wall looks solid and behaves like it isn't.
Drywall is hollow behind the surface. A standard anchor pushed into drywall has nothing behind it to grip. Under load it pulls straight through the board and the shelf comes down with whatever was on it.
Two approaches work here. A stud finder locates the wooden or metal frame running inside the partition. Drill into the stud and you have something solid to anchor into. Alternatively, toggle bolts or specialist hollow wall anchors grip from behind the board surface and distribute the load across a wider area.
Either way: the weight limit on a drywall shelf is significantly lower than on concrete or brick. Heavy books, appliances, large ceramic pots, these don't belong on drywall shelves regardless of the anchors used. Keep it to light decorative loads and you won't have a problem.
Common in kitchens and bathrooms. The tile has to be drilled through cleanly before reaching the wall material behind it.
Use a diamond tip or tile specific drill bit. Low speed. No hammer function. Hammer mode on a tile drill point cracks the tile, sometimes the crack doesn't show immediately but it will. The vibration does the damage even when the surface looks intact.
Before drilling, stick a small piece of masking tape over the drill point. Tile surfaces are glazed and the drill bit skates across them before it bites. The tape gives the bit enough grip to start cleanly. Remove it once the bit has penetrated the glaze surface.
The shelf board rarely fails. The bracket and anchor system is almost always where things go wrong. Getting this right matters as much as choosing the right wall hardware.
Standard L brackets are the most common and work well for light to medium loads. The spacing between brackets determines how much the shelf sags in the middle under load. For longer shelves, closer bracket spacing reduces sag. A general rule: no more than 60cm between brackets for a shelf carrying books or heavier items.
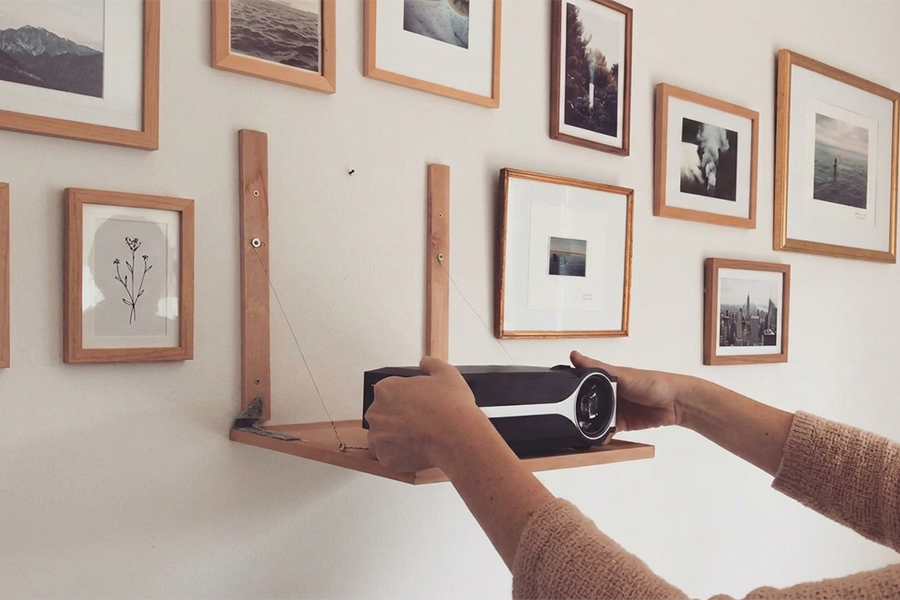
Floating shelf brackets, also called blind brackets or rod systems, insert directly into the shelf board and are invisible from outside. The shelf appears to float on the wall with no visible support. These require precise drilling into the shelf board and accurate positioning on the wall. The dry fit step before final installation, covered in the next section, is essential for these.
Heavy duty concealed brackets are for shelves carrying serious weight. The rated load is stamped on the bracket. Check this number before buying and compare it against what you're actually planning to put on the shelf. This number is the maximum for the bracket alone, not including the shelf board weight itself.
Keyhole brackets are surface mounted on the shelf back and hook onto screws in the wall. Quick to install and fine for light decorative shelves. Not suitable for anything carrying real weight.
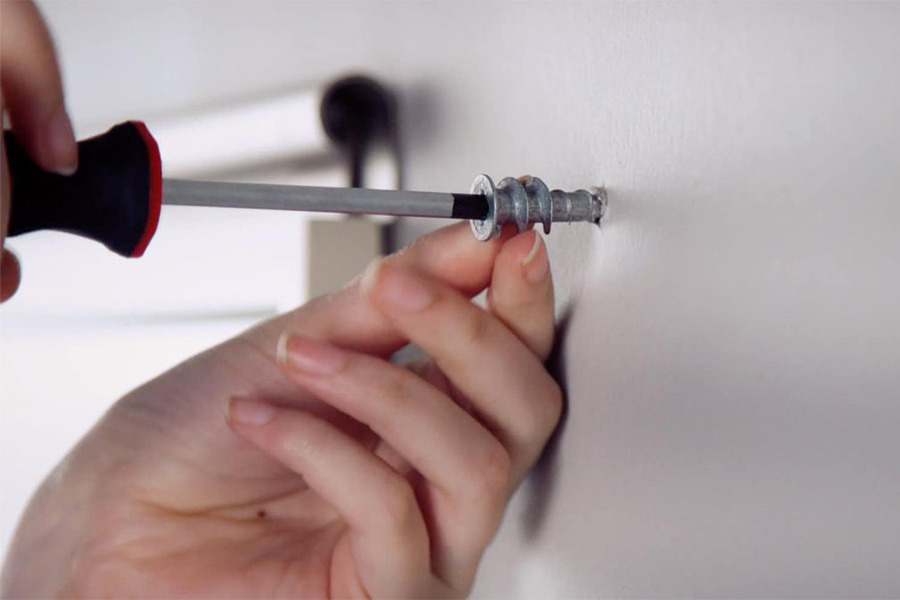
The anchor diameter must match the drill bit size exactly. This is more important than most installation guides emphasise. An anchor sitting in a hole slightly larger than itself has nothing firm to grip. It will hold initially and then work loose under vibration and load over time. Loose anchor in an oversized hole is the most common reason shelves gradually pull away from walls that were perfectly good to drill into.
Screw length: the screw needs to pass through the bracket, through the anchor, and embed at least 25mm into solid wall material beyond the end of the anchor. Anything shorter and the connection between bracket and wall is relying on the anchor grip alone with no mechanical engagement in the wall.
For shelves carrying books, appliances, or anything heavy: metal anchors, not plastic. Plastic anchors creep under sustained load. The anchor doesn't pull out suddenly. It slowly deforms over months until the screw is no longer tight and the shelf begins to tilt.
A careful installation takes maybe 30 minutes longer than a rushed one. In exchange it lasts decades instead of years. Every step below exists because skipping it causes a specific failure.
Mark the shelf position with a spirit level before doing anything else. Two millimetres of slope is invisible when the shelf is empty. Once objects are placed on it, the slope becomes immediately obvious and stays obvious every time you look at the shelf. Get it level before you drill.
Mark all bracket positions before drilling any of them. This sounds obvious but most people mark and drill one bracket, attach it, then mark the next. Confirm the spacing and level across all points simultaneously before committing to the first hole.
Drill at the correct speed for the wall type. Too fast on concrete generates heat that widens the hole and degrades the anchor grip. Steady medium speed with the hammer function engaged for concrete and brick.
Insert the anchor flush with the wall surface. An anchor protruding even a millimetre prevents the bracket from sitting flat against the wall. The bracket rocks on the anchor tip and the whole assembly feels unstable. Push or tap anchors fully flush before attaching anything.
Attach brackets and check level again before tightening the screws fully. Adjustments are easy at this stage. After the screws are fully torqued, adjustments require removing everything and starting again.
Fix the shelf to the brackets. Don't rely on the shelf simply resting on brackets for anything beyond purely decorative use. A shelf that isn't fixed to its brackets can slide or shift. For floating shelf installation, the shelf typically locks onto the blind brackets during installation. For L bracket shelves, small screws through the bracket lip into the shelf underside keep it in place.
One step specific to floating shelves: do a dry fit of the shelf onto the blind brackets before the final installation. Slide the shelf onto the protruding rods and check for resistance or binding. If it doesn't slide on smoothly, the rod positions need adjustment. This is easy to fix before the wall is committed. After the shelf is glued and mounted it's a problem.
The installation gets the shelf up. How you load it determines whether it stays up.
Every bracket has a rated load printed on the packaging or stamped on the metal. This number is the maximum the bracket can handle, not including the weight of the shelf board itself. A shelf board in solid sheesham or mango wood is not light. Subtract the board weight from the bracket rating to get the true usable load capacity.
Distribute weight across the full shelf length rather than concentrating it at one end or in the middle. A heavy object placed at one end of the shelf creates a lever effect that multiplies the force on the nearest bracket significantly beyond what the object's weight alone would suggest. Spread the load evenly and the brackets share it. Concentrate it at one point and one bracket carries far more than its share.
Aquariums and water containers. Water weight is deceptive. A small 20 litre tank weighs 20kg before you add the glass tank itself, the gravel, the filter equipment, and the decorations. A modest looking aquarium frequently exceeds the safe wall shelf weight limit of anything but a purpose built bracket system rated for the specific load.
Multiple stacked rows of hardcover books on a single floating shelf. Books are among the heaviest objects placed on shelves per volume. A single row of large hardcover books across a 90cm shelf can weigh 15 to 20kg. Two rows is too much for most standard floating shelf brackets.
Appliances with vibration. A speaker, a fan, anything with a motor or moving parts on a wall shelf transmits vibration directly into the anchor points. Vibration works screws loose over time even when everything was installed correctly. If the shelf needs to hold speakers, use brackets with significantly higher load ratings than the speaker weight alone and check the screws regularly.
Living plants in heavy ceramic pots. A large ceramic pot can weigh 3 to 5kg before any soil or plant is added. A shelf holding three large planted pots is carrying a significant and often underestimated load. Weigh the pots before placing them if you're uncertain.
Shelves rarely come down without warning. The warnings just get ignored.
A visible tilt that wasn't there when the shelf was first installed means the anchor is beginning to pull through the wall. The movement is slow at first. It accelerates.
A hollow sound when tapping the wall directly behind the bracket means the anchor has lost contact with solid wall material. The grip that was holding everything up is gone or severely compromised.
Hairline cracks in the wall plaster radiating outward from the screw points mean the wall material around the anchor is failing. The crack pattern is the wall telling you what's happening inside it.
A shelf surface that feels slightly springy or mobile when pressed down means the connection between bracket and shelf has loosened. The shelf is no longer a fixed assembly. It's moving independently of its brackets.
When any of these appear: remove everything from the shelf before doing anything else. A failing shelf under load doesn't give a long warning before it pulls away. An empty shelf failing causes a wall repair. A loaded shelf failing causes a wall repair plus broken objects plus potential injury.
The repair depends on what actually failed. Diagnosing correctly before reaching for a drill saves time and avoids making the problem worse.
The screw turns but doesn't bite. The anchor has spun in the hole or the hole has widened around it.
Remove the screw and the anchor. Pack the hole with wooden toothpicks and a small amount of wood glue, or use a wall plugging compound if the hole is larger. Let it cure fully. Twenty four hours minimum, not one hour because you're impatient. Then re drill and re anchor in exactly the same position.
Do not simply use a longer screw without addressing the hole. A longer screw follows the same compromised path and fails again, usually faster because the wall material is already weakened.
The hole is now larger than the anchor and the anchor can no longer grip regardless of how it's packed.
Move the bracket position by at least 50mm in any direction to fresh, undamaged wall material. Never try to re anchor in an enlarged hole. Fill the old hole with ready mix filler, sand flush once dry, and repaint. Don't leave it open. Open holes continue to widen with vibration and humidity cycling.
This means the bracket was loaded beyond its rated capacity, either by overloading or by sustained load over time.
Replace the bracket entirely with one rated for a higher load. Straightening or reinforcing a bent bracket is not a safe repair. The metal is fatigued and will fail again at a lower load than the original rating. Before reinstalling, reassess what the shelf is actually carrying against what the replacement bracket is rated for.
If the installation was done correctly, maintenance is simple. These three habits keep a well installed shelf in good condition indefinitely.
Check and re tighten all bracket screws every twelve months. Indian climates involve significant temperature and humidity cycling across seasons. Thermal expansion and contraction works screws gradually loose over time even in solid concrete. A quick check with a screwdriver once a year catches this before it becomes a problem.
Don't hang from shelf edges or pull down on them. The leverage created by hanging weight from the front edge of a shelf multiplies the force on the nearest anchor point far beyond the object's actual weight. The shelf was installed to carry things on its surface, not suspended from its edge.
When repainting walls, remove the shelf brackets fully rather than painting around them. Paint buildup under a bracket creates a small gap between the bracket and the wall surface. Over multiple repaints the gap grows and the bracket no longer sits flush. It looks fine and isn't.
For wooden floating shelves specifically: oil or polish the shelf surface once a year. Dry wood warps. A warped shelf creates uneven stress on the bracket rods it's mounted to, loading some points harder than others. Keeping the wood sealed and conditioned prevents warping and keeps the load distributed evenly across all brackets.
A wall shelf that fails is almost never a quality problem. It's an installation problem. The wrong anchor for the wall type, a hole drilled too large, load concentrated at one end, or a loose screw that never got checked. All of these are avoidable.
Take the twenty minutes to identify your wall type before buying hardware. Match the anchor to the drill bit exactly. Check level twice before drilling once. Load the shelf sensibly. Check the screws once a year.
Done right, a well installed shelf on a concrete wall with proper anchors will outlast everything on it. The shelf that falls is always the one where one of the basics got skipped in the first ten minutes.
And if you're looking for solid wood shelves worth putting up properly, browse Woodenstreet's collection of wall mounted and floating shelf units in sheesham, mango wood, and acacia. Built to carry real weight. Worth installing carefully.
We will be back with the next blog soon. Till then, stay tuned!
Read More -
Latest Bookshelf Design: From Global Design Weeks to Your Living Room
Image Source: Pinterest, Google, and Wooden Street
A Use a drill with masonry bits, wall plugs, and strong wall shelf brackets. Concrete walls provide excellent support for secure floating shelf installation and heavier loads.
A A floating shelf’s weight capacity depends on wall type, bracket quality, and installation method. Proper floating shelf installation can typically support 10–50 kilograms safely.
A Loose wall shelf brackets, uneven installation, or excess weight often cause sagging. Checking alignment and reducing load can help prevent further wall shelf damage.
A Toggle bolts, expansion anchors, and heavy-duty wall plugs are ideal for supporting shelves with higher wall shelf weight limits on drywall or masonry surfaces.
A Yes, wall shelves can be installed on drywall using proper anchors or by securing brackets directly into wall studs for improved strength and stability.
A Remove the shelf, tighten loose hardware, replace damaged anchors, and reinstall securely. Learning how to fix a loose shelf early prevents long-term wall damage.
Trending Products
Top Picks from EveryoneArticles you will love to read

Explore the ideal bedroom direction according to Vastu with practical insights and scientific reasoning. Learn the best bed placement according to Vastu, ideal sleep directions, and smart bedroom design tips to create a peaceful, balanced, and energy-aligned living space.
Continue Reading
Setting up your workspace the right way can completely change how you work from home. This blog on Vastu for office desk at home explains the best desk direction, seating positions, and simple adjustments that help improve focus and comfort. From choosing the right home office desk and chair to creating a balanced work from home setup, these practical tips make your home office feel more organised and easier to work in every day.
Continue Reading
The placement of your almirah plays a bigger role in your bedroom than you might expect. According to Vastu, the right direction can make your space feel more balanced, organised, and comfortable. This blog walks through the best directions for wardrobe placement, common mistakes to avoid, and simple, practical tips you can apply, whether you’re setting up a new room or adjusting an existing one while understanding wardrobe direction as per vastu and overall bedroom vastu.
Continue Reading
Bring warmth and energy into your interiors with yellow furniture inspired by the latest summer furniture trends. This guide explores easy styling ideas, trending colors for spring and summer, and timeless décor updates that help your home feel bright, cheerful, and fresh long after the summer trend season ends.
Continue Reading
Learn how to choose sustainable furniture materials that balance durability, comfort, and environmental impact. This guide explores eco friendly furniture materials, sustainable upholstery fabrics, and eco friendly upholstery fabric options while explaining what to avoid when buying furniture made from sustainable materials for modern homes
Continue Reading


