


Give old furniture a fresh new look with this beginner-friendly guide to repaint wood furniture at home. Learn about paint for painting wood, wooden polish colour options, painting timber furniture techniques, and expert tips for painting furniture with chalk paint to achieve stylish, durable, and professional-looking results.

That old wooden chair sitting in the corner of your bedroom. The side table with the scratched top. The cabinet your parents passed down that you love but hasn't seen a fresh coat of anything in fifteen years.
None of these is finished. They're just waiting.
A good repaint transforms a tired piece of solid wood furniture in a weekend. A bad one chips within a month and leaves you worse off than when you started. The difference between the two isn't talent or expensive equipment. It's three decisions: what paint you use, how you prepare the surface, and what you put on top when you're done.
This guide covers all three. Which paint works for which situation, how chalk paint specifically behaves and why beginners love it, and the exact process from a bare or beaten-up surface to a finished piece you're actually proud of.
This is where most people skip to the fun part. The paint type determines everything that follows, the preparation needed, the tools you use, how forgiving the process is, as well as how long the result lasts. Once you choose the wrong one for the piece, no amount of careful brushwork can save it.
Chalk paint is something where most people start, and for good reason. It’s water-based, dries to an ultra-matte finish, plus sticks to most surfaces with little to no sanding or priming beforehand. That last point is what makes it genuinely beginner-friendly. The barrier to making an initiative for this is quite low.
The finish it creates in the end is velvety, slightly textured, as well as naturally warm. It smoothly matches with vintage pieces, rustic furniture, anything with carved details or turned legs. It does not suit furniture where you want a crisp, perfectly smooth, modern look. That's not what chalk paint does and trying to make it do that is fighting the material.
The limitation worth knowing upfront: chalk paint is porous. Without a topcoat, it marks immediately. Watermarks, fingerprints, light scratches. The painted surface looks beautiful for about a week and then it starts to show everything. Sealing is not optional. It's part of the process.
Best for: Wooden chairs, side tables, cabinets, dressers. Pieces that aren't taking heavy daily impact on a hard surface.
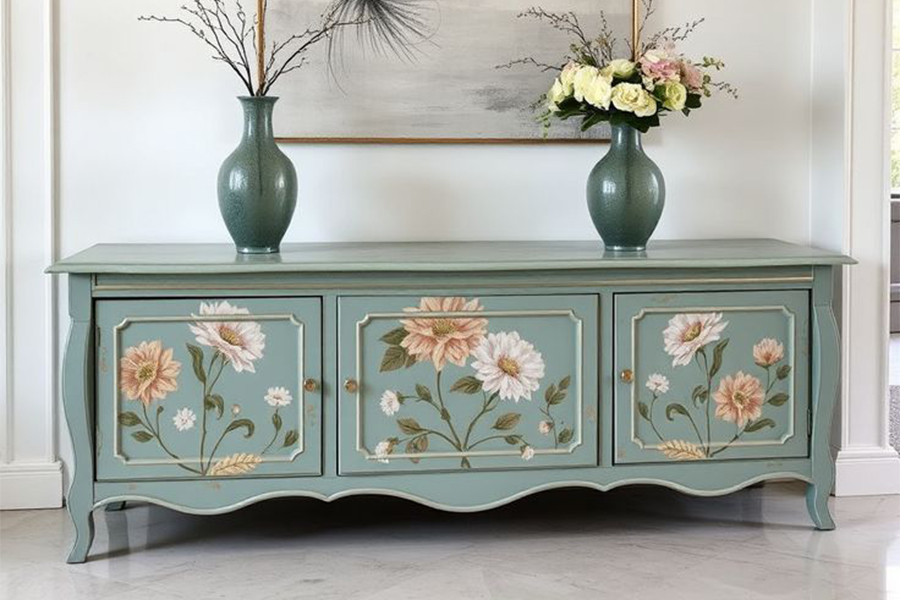
Made from casein, lime, and pigment. The most genuinely eco-friendly option in the furniture paint category and it produces a finish that no synthetic paint replicates. Slightly uneven, slightly translucent in places, authentically aged in a way that looks like the piece was always that colour rather than painted last Tuesday.
The catch: it needs a bonding agent on any surface that's sealed or previously painted. Skip this step and the milk paint peels cleanly off the surface within days. On raw or stripped bare wood it adheres naturally. Anything else, use the bonding agent.
Best for: Raw or stripped wood where a deeply natural, old-world finish is the goal.
More preparation required. More forgiving of hard daily use once it's on. For pieces like dining tables, kitchen chairs, or anything a child is going to interact with daily, latex or acrylic is the right call because the dried finish is significantly harder and more washable than chalk paint.
You need to sand and prime before painting. The process is more involved. The result is cleaner, more uniform, and more resilient. If you want a modern, smooth, flat-colour finish on a clean-lined piece of furniture, this is the paint for painting wood that gets you there.
Best for: Dining tables, kitchen chairs, children's furniture. Anything that takes daily wear and needs to be wiped clean regularly.
Oil-based, extremely hard finish. The most durable furniture paint available. Also the least forgiving to work with. Long drying times, strong fumes, visible brush marks if the application isn't careful, and mistakes are difficult to correct once the paint has set.
For outdoor wooden furniture or a heavy-use indoor piece that needs to last a long time without touching up, enamel is the right answer. For a beginner repainting a chair for the first time, it probably isn't.
Best for: Outdoor furniture and heavy-use indoor pieces. Not recommended as a starting point.
Read this section even if you think you know it. Most DIY furniture repaints fail here, not in the painting. A beautiful expensive chalk paint applied to a greasy, waxy, or damaged surface looks bad immediately and gets worse.
One rule that applies regardless of which paint you’re going to use: Never paint when in contact with direct sunlight and in a dusty environment. Direct rays of sunlight dry the paint too fast plus cause uneven setting. Dust settles into wet paint as well as creates a texture that you didn’t intend. So, find a shaded, clean space and work there.
This is the section most people are here for, so it gets the most detail.
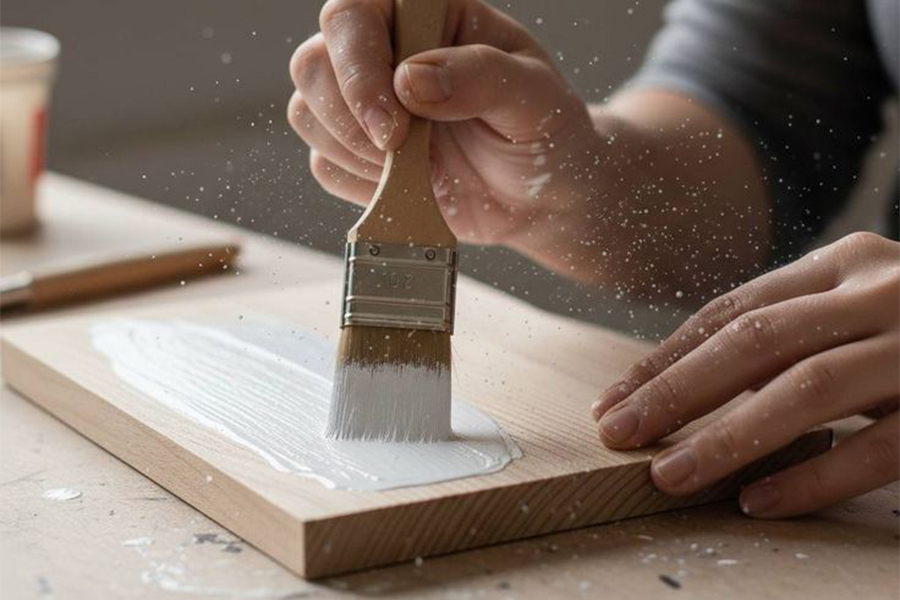
Chalk paint is thick. Do not thin it with water before the first coat. Apply it directly with a wide flat brush using long, even strokes in one direction. The goal on the first coat is coverage, not perfection.
The first coat will look uneven. Streaky in places. Patchy in others. This is completely normal and it does not mean anything has gone wrong. Do not go back over wet sections trying to fix it. You will create drag marks and the surface will look worse. Let it dry fully and trust that the second coat transforms it.
Drying time between coats is 30 to 60 minutes depending on humidity. In Indian summers the paint dries fast, sometimes faster than that. During monsoon months, allow longer. Touch the surface gently before applying the next coat. It should feel dry and not tacky.
Two coats is the standard for most chalk paint furniture projects. Three coats if you're painting a light colour over a dark base or if the coverage on the second coat still looks uneven.
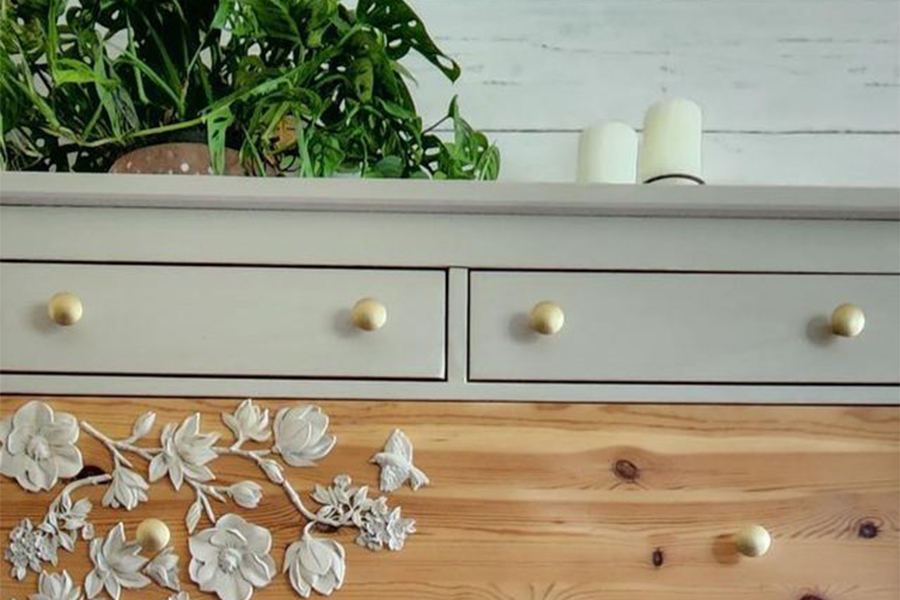
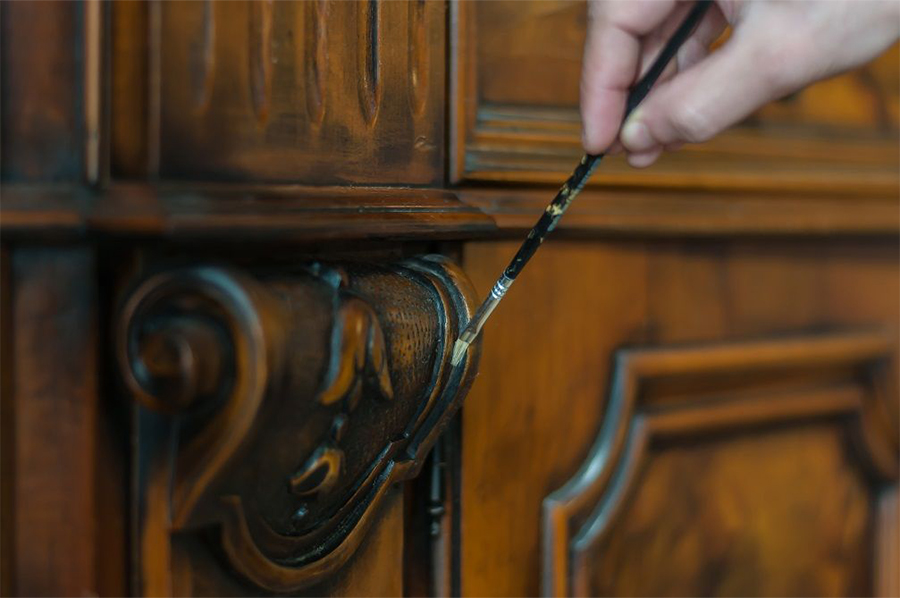
This is one of chalk paint's most popular effects and it's easier than it looks. The principle is deliberate controlled wear: you sand back the edges, corners, and raised details after painting to reveal the wood underneath. Done right it looks like the piece has been loved for decades. Done wrong it looks like you attacked it with sandpaper.
The process: once the final coat is completely dry, then take 220-grit sandpaper and work it lightly along the edges, corners, as well as any carved or turned details. These are the areas that would naturally show wear over time, so that the sanding mimics something real. Keep checking as you go. It’s much simpler to sand a bit more than it is to paint oover an area that you’ve gone too far with.
The degree of distressing is personal. A few light passes on the corners only gives a subtle lived-in quality. Heavy sanding across entire flat panels creates a heavily worn farmhouse look. Both are valid. Neither is the "right" amount. It depends entirely on the piece and what you want from it.
Non-negotiable. Any piece of chalk paint furniture in regular use needs a topcoat. The paint looks beautiful without one for a very short time and then it marks permanently. The topcoat is what makes the finish last.
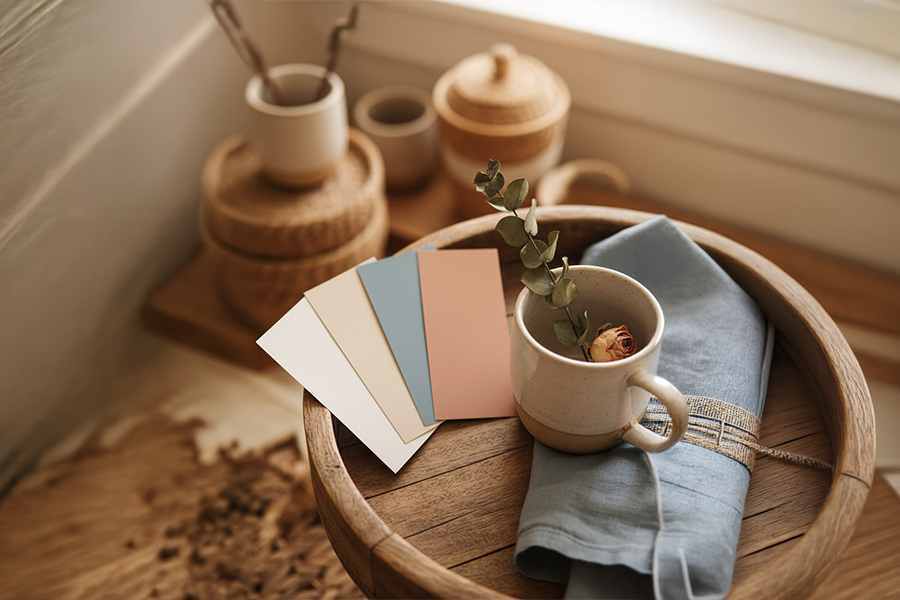
The colour is personal and nobody should tell you what to choose for your own furniture. But a few principles save genuine regret.
Test on a hidden section first. Chalk paint dries significantly lighter than it looks wet. A colour that seems perfect on the brush can look completely different once it's dried and you've waxed over it. Test on the back of the piece or the underside of a shelf before committing to the full surface.
Dark colours on large pieces are powerful and should be used with intention. A dark navy or forest green chalk-painted cabinet looks extraordinary when it's one statement piece in a room. The same colour on every large piece in the room becomes heavy. One dark piece, everything else quiet around it.
If the piece is solid sheesham or mango wood, stop and consider whether it actually needs repainting. These are warm, beautiful hardwoods with grain that paint covers permanently. A light sand and a fresh coat of Danish oil or tung oil often restores the original surface better than any colour for wooden furniture could. Paint is permanent. Oiling is reversible. If the wood itself is still good, the oil route is worth trying first.
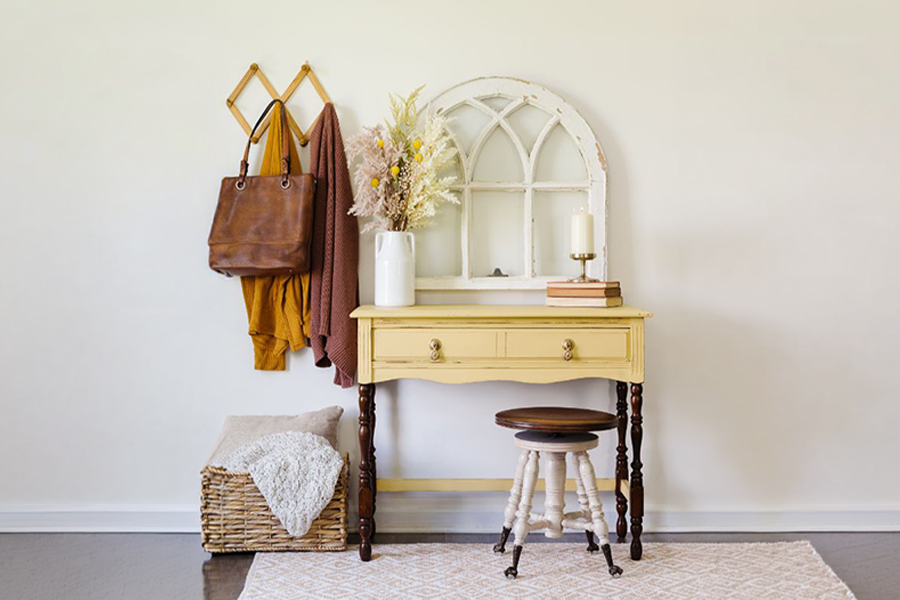
If you're repainting a piece to sell or give away: white, off-white, and sage green have the broadest appeal and the lowest risk. Most people can see themselves living with these. The same cannot be said for burnt orange or bright terracotta, however beautiful they are.
Thick coats to speed up coverage. Paint applied too thickly cracks as it dries. Two thin coats always beats one thick one.
Painting over waxed surfaces without stripping the wax first.
The chalk paint will not adhere. It might look fine for a day and then start lifting. Strip the wax first with white spirit.
Skipping the topcoat.
Already said this but worth repeating because it's the most common reason a chalk paint finish fails. The paint is not the final step. The seal is.
Using a foam roller for chalk paint.
Foam rollers leave a slightly textured surface that looks wrong under chalk paint's matte finish. A flat bristle brush is the right tool.
Repainting furniture that just needs cleaning and oiling.
Paint covers the wood permanently. Before you open the tin, clean the piece thoroughly and see what it looks like. A lot of tired-looking solid wood furniture looks completely different after a proper clean and a good oil treatment. If the wood is good, give it a chance before covering it.
Repainting a piece of furniture is one of the few home projects where the effort genuinely matches the reward. A weekend of work, the right paint, a proper topcoat, and a piece that looked finished becomes something you'd buy new if you saw it in a store.
The rules are not complicated. Clean before you paint. Sand before you prime. Never skip the topcoat. Apply thin coats and let each one dry fully before the next. And before you open any tin of paint, check whether the piece actually needs it. Solid wood that looks tired often just needs cleaning and oiling. Paint covers that grain permanently. Oil brings it back.
If you're starting with chalk paint, start small. A single chair. A side table. Get the feel of the material, the drying time, the wax application. Then move to larger pieces. Chalk paint is forgiving but it still rewards practice.
The pieces worth repainting are usually the ones with good bones. Solid wood construction, decent joinery, a shape that still works. If that sounds like something you already own, it probably just needs the right coat of paint for painting wood and a bit of your time.
And if you're looking for solid wood furniture worth holding onto, worth restoring, worth passing on eventually, browse Woodenstreet's collection of sheesham, mango wood, acacia, and teak furniture. Built to last long enough that a repaint twenty years from now is a pleasure, not a compromise.
We will be back with the next blog soon. Till then, stay tuned!
Image Source: Pinterest, Google, and Wooden Street
Read More -
How to Use Yellow Furniture to Keep Summer Alive in Your Home All Year Round
A Light sanding helps chalk paint adhere better, especially on glossy surfaces. However, many chalk paint furniture products are designed to work with minimal preparation and sanding.
A Most furniture pieces need two coats of chalk paint for even coverage. Dark furniture or bold colour for wooden furniture may sometimes require an additional coat.
A Furniture wax and water-based polyurethane are popular sealers for chalk paint furniture. They protect the finish while improving durability and preserving the painted surface.
A Yes, chalk paint works on laminate and MDF furniture when the surface is cleaned properly. A bonding primer can improve adhesion and help repaint timber furniture smoothly.
A Use thin paint layers, high-quality brushes, and light sanding between coats. Finishing with a protective sealer also helps create a smoother painted furniture surface.
A Acrylic enamel, latex paint, and high-quality chalk paint with sealers are durable choices. Selecting the right paint for painting wood improves furniture longevity and finish quality.
Trending Products
Top Picks from EveryoneArticles you will love to read
Do you want your living room color palette to resemble your aura? Here are 5 best color combinations for your living room that can speak volumes about you.
Continue Reading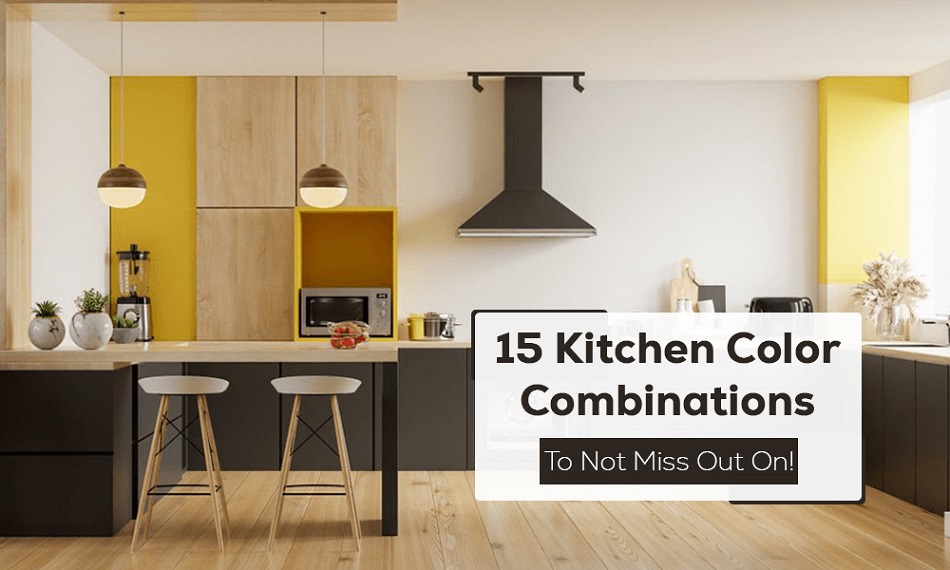
15+ Kitchen color combinations that can surely remodel your old kitchens and revamp them in style. What are you waiting for? Start Scrolling!
Continue Reading
Explore vibrant orange colour combinations that suit every space and are perfect for adding warmth and energy to your furniture. Find smart yet stylish orange furniture ideas for every interior.
Continue Reading
Find the best wooden door colours for your home entrance with Vastu-friendly ideas. Explore natural shades and stylish finishes that bring positivity, elegance, and balance.
Continue Reading
Explore blue colour combination ideas for living rooms, bedrooms, and kitchens. From a blue sofa set to cupboards, pair shades with white, gray, yellow, or turquoise for stylish interiors.
Continue Reading